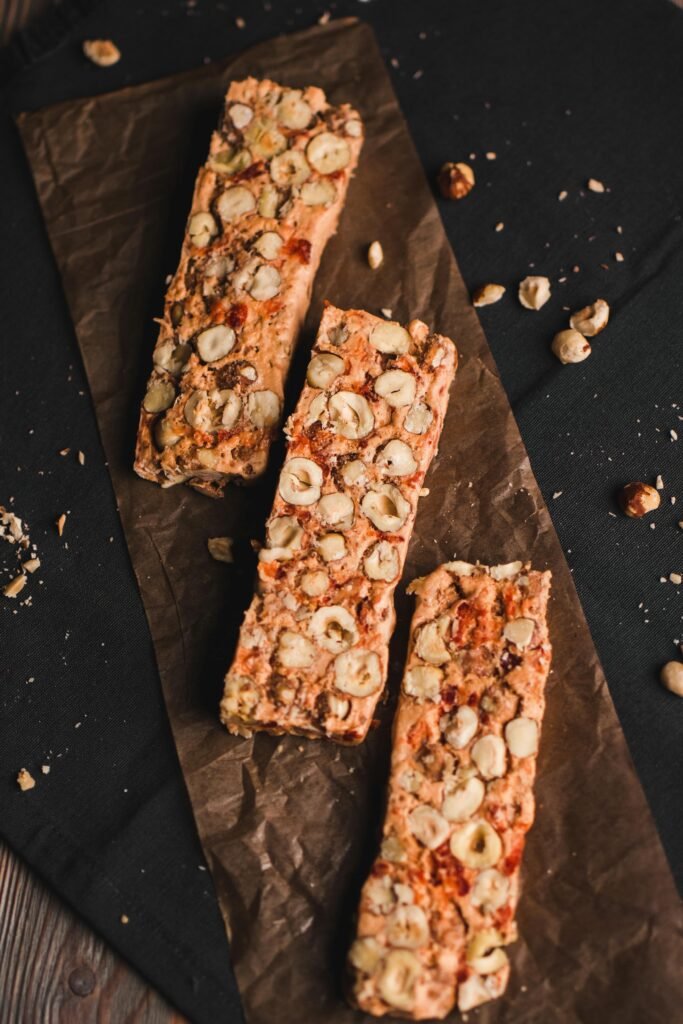
When people talk about < DIY survival food >, they usually picture dusty cans of beans, bland MREs, or expensive freeze-dried packets from a camping store. That stuff has its place, but here’s the truth: survival food doesn’t have to taste like cardboard or drain your wallet. In fact, you probably already have everything you need to make a calorie-packed, shelf-stable survival snack sitting right in your pantry.
That’s where Pantry Survival Bars come in. Think of them as the prepper pantry’s answer to the energy bar — only cheaper, tastier, and made from the kind of ingredients your family already recognizes. No mystery powders, no twenty-dollar price tag, and no excuse not to try them.
—
Why Every Prepper Needs a DIY Survival Food Option
If you’re building a bug out bag or stocking your emergency kit, you need food that is:
Calorie dense. In survival situations, calories are fuel, and every bite counts.
Portable. Something you can stash in a backpack, car, or glovebox without worrying about it spoiling immediately.
Simple. When stress is high, you don’t want complicated recipes or cooking.
Pantry DIY Survival bars check all three boxes. They’re no bake, mix-and-go, and they’ll give you the quick energy you need to keep moving — whether you’re dealing with a power outage or packing the car during an evacuation.
—
Ingredients You Already Have (Makes ~8 bars)
2 cups rolled oats (instant or old-fashioned — both work)
1 cup peanut butter (or any nut butter hiding in your prepper pantry)
½ cup honey or syrup (maple, corn, pancake… survival doesn’t judge)
½ teaspoon salt
Optional survival upgrades:
½ cup raisins, nuts, or chocolate chips
A scoop of protein powder
A sprinkle of cinnamon or cocoa for flavor
—
Step-By-Step: No Bake, No Fuss
1. Mix the goo. Combine the peanut butter and honey in a bowl until smooth.
2. Add the bulk. Stir in oats, salt, and any extras you want.
3. Pack it tight. Line a pan with parchment paper and press the mixture firmly. The tighter you press, the better it’ll hold together.
4. Chill out. Place in the fridge for about 30 minutes. Cut into bars once firm.
That’s it — no oven, no fancy tools, no waiting around.
—
Storage Tips for Preppers
Short-term: Airtight container on the counter, up to 1 week.
Medium-term: Refrigerated, they’ll last 2–3 weeks.
Long-term: Wrap individually and freeze. They’ll last for months and can be tossed directly into your bug out bag or prepper pantry.
Pro tip: Wrap each bar in wax paper or plastic wrap before freezing. That way, you can grab one at a time, no sticky mess.
—
Why These Bars Belong in Your DIY Survival Food Kit
Energy on demand. Each bar packs 200–300 calories of fast fuel.
Balanced nutrition. Carbs from oats, fats and protein from peanut butter, and sugar from honey give you a steady burn instead of a quick crash.
Resourcefulness. Survival isn’t about having the fanciest gear — it’s about using what you already have to stay prepared.
These bars prove you don’t need to buy expensive emergency rations to take a big step toward self-reliance.
—
Final Thought about DIY survival food
Preparedness doesn’t have to mean stockpiling only things you’ll hopefully never eat. It can also mean getting creative, using your existing pantry, and learning small skills that make you more resilient. Pantry Survival Bars are the kind of DIY survival food that bridge the gap between everyday life and real emergency preparedness.
So next time you’re staring at that jar of peanut butter or the bag of oats you forgot about, remember: with a little mixing and pressing, you’ve got yourself a survival snack worthy of any bug out bag.
👉 Want to take your prepping a step further? Download my free 3-Day Survival Checklist and discover how simple it can be to get started. Sometimes survival isn’t about running into the woods — it’s about making the most of your backyard, your pantry, and your resourcefulness.
According to USDA food safety guidelines, storing homemade bars in airtight containers extends their shelf life

Hi, what do you think is the difference between these bars (which sound great) and the commercial ones that you can throw into the backseat of the car for a couple of years and are still edible? Do the commercial ones have preservatives, or what? I’m looking for something I can make at home and store in my car in case of car related emergencies (winter breakdowns, etc). Thanks for any thoughts!
Good question. It mostly comes down to what they’re designed for.
Commercial emergency bars are engineered to handle long storage and extreme heat and cold. That’s usually achieved through low moisture, calorie-dense ingredients, and sealed packaging (sometimes preservatives, sometimes just formulation and packaging).
Homemade bars are more about cost and ingredient control, not multi-year shelf life. They generally work best if you plan to rotate them regularly, especially if they’re stored in a car.
A lot of people use both: commercial bars for long-term car storage, and homemade bars as a cheaper option that gets eaten and replaced more often.
Thanks for the thoughtful question.