Water Prepping: The First Step Everyone Should Take
Excerpt: The simplest way to start prepping is water. Here’s exactly how much to store, cheap ways to collect it, and foolproof methods to make it safe.
Start Small
If your tap stopped tonight, how long could you go? Next time you’re at the store, grab two or three one-gallon jugs and stash them in a closet or under the bed. Do that on your next few trips and you’ve already taken your first water-prepping step.
How much do you need? A good rule is 1 gallon per person per day for drinking and basic hygiene. Start with 3 days, work toward 14 days, and eventually build to 30 days if space allows.
Collect What You Can
If you’ve got outdoor space, route a downspout into a basic rain barrel (or a lidded trash can in a pinch). Rainwater isn’t drink-ready, but it’s gold for flushing, cleaning, and—after treatment—drinking in an emergency.
Containers that work:
- Factory-sealed store jugs (shorter shelf life; rotate often)
- Food-grade water containers (5–7 gal “stackables” or jerry cans)
- Big storage (55-gal drum or IBC tote with a spigot)
Storage tips: Keep containers cool, dark, and off concrete, label with a date, and avoid reusing milk jugs (they degrade and can leak).
Make It Drinkable
Having water is one thing—making it safe is another. Choose at least two of these:
- Filter: A compact Sawyer Mini or LifeStraw handles bacteria and protozoa. Pair with chemical treatment to cover viruses.
- Chemical treatment: Chlorine dioxide tablets or unscented household bleach (5–6% sodium hypochlorite). For clear water add 8 drops per gallon, stir, wait 30 minutes. Double the time for cold or cloudy water.
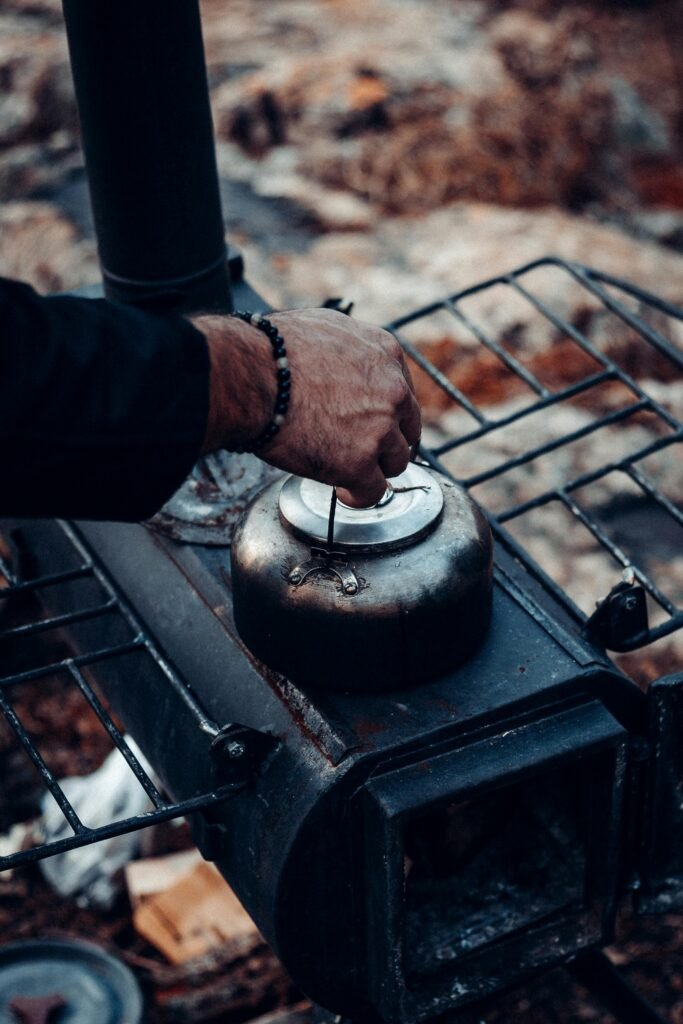
- Boil: Bring water to a rolling boil for 1 minute (3 minutes above 6,500 ft). Let it cool before pouring into clean containers.
- UV purifiers: Pen-style UV devices work for small batches if you have charged batteries.
💡 Pro Tip: Your water heater is a hidden storage tank (commonly 30–50 gallons). Turn off power/gas first, then drain from the bottom valve into a clean container.
Hidden Water Sources at Home
- Toilet tank (not the bowl) if it’s free of chemical cleaners
- Ice in the freezer once melted
- Plumbing lines (open the highest faucet to let air in, drain from the lowest)
30-Minute Starter Plan (Budget)
- 3–6 one-gallon jugs
- A small filter (Sawyer Mini)
- Chlorine-based treatment (tabs or bleach)
- 1 dedicated container set (two 5–7 gal cans)
- Permanent marker + duct tape for labeling
Rotation & Maintenance
- Factory-sealed jugs: rotate every 6–12 months or when they look tired.
- Treated/stored water: if it tastes flat, re-oxygenate by pouring between containers. Top off or refresh every 6–12 months.
- Keep a small “water prepping treatment kit” with dropper, tablets, and instructions rubber-banded to a container.
Common Mistakes to Avoid
- Relying on one treatment method (have at least two)
- Storing in sun/heat or on bare concrete
- Forgetting to label containers with date and source
- Using scented or “splash-less” bleach
- Skipping a practice run
Try It Out
Don’t wait until things go sideways. This week, boil a gallon, treat a gallon, and filter a bottle so it’s muscle memory. Once you’ve done it, it won’t feel like a big deal.
FAQ
How long can water be stored?
Indefinitely if it’s in a clean, sealed, food-grade container and kept cool and dark. Rotate for peace of mind and to catch container failures.
Can I store tap water without treatment?
Yes, if your municipal water is already treated and you use sanitized, food-grade containers. Sanitize with a mild bleach rinse first, then fill.
Is rainwater safe to drink?
Not without treatment. Filter and disinfect before drinking.
What if the water tastes flat?
Re-oxygenate by pouring between containers or chill it.
How much for pets?
Roughly 1 ounce per pound of body weight per day, adjusted for heat and activity.
Next Step
Once your water prepping is squared away, build your Budget Bug-Out Bag with a lightweight bottle, collapsible bladder, and compact filter so you can purify on the move.
